Everest Base Camp, Three Passes Trek, Travel
Cho La Pass Crossing, Everest Base Camp Honeymoon (Day Fourteen)
DESTINATION: Dragnag (over Cho La Pass)
ELEVATION: 4,940 m (highest crossing at 5,420 m)
ELEVATION GAIN: +110 m (+590 m most elevation gain)
DISTANCE: about 9.5 km (about 7 – 10 hours)
OXYGEN: 56% of sea level (previous 54% and 52% at Cho La Pass)
This was a big day for us; it was the day of the second pass crossing. We got up pretty early (as early as they would serve breakfast), packed up our backpacks, had breakfast, and headed out to our next adventure – to cross the second pass (and the last one for us as we were running out of time) on the Three Passes Trek – the Cho La Pass (5,420 m).
Travel Tip: Depending on which month you do the Three Passes Trek, there may be little or a significant amount of snow. We went in October, so the snow was minimal, and weather conditions stayed perfect for the whole vacation; we were lucky. However, the Nepalese recommend checking for weather conditions on the trail in the morning or the night before heading out for the Cho La Crossing. Snow may mask crevasses and make it dangerous to cross, so ask at your tea house; they’ll know if Cho La Pass is open to trekkers when you want to hike it.
Like with the Kongma La Pass, there is always a moraine to cross at the end of a long and strenuous hike, but this time, there was an option to rest overnight in Dragnag, the village right before the moraine which separated us from Gokyo. We left in the morning intending to do the hike in one day but with the option to stay overnight in Dragnag to leave the moraine for the morning (it’s a nice motivator too).
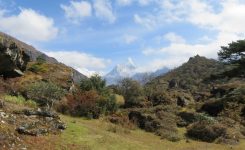
The Cho La Pass is very demanding, and it’s crossing a glacier where crampons are a plus, but you can also do without if you prefer to travel light. The hike’s first part is relatively flat and “easy” to walk.
Travel Tip: Not a single morning past the 4,000-meter mark in the Himalayas was an easy walk for me. Potentially, this varies from person to person, but in my case, Diamox took a while to kick in, so mornings were especially hard for me as I was struggling to have enough air to walk with a heavy backpack. All this to say, packing light and starting early is very important and will make your hikes so much more enjoyable.
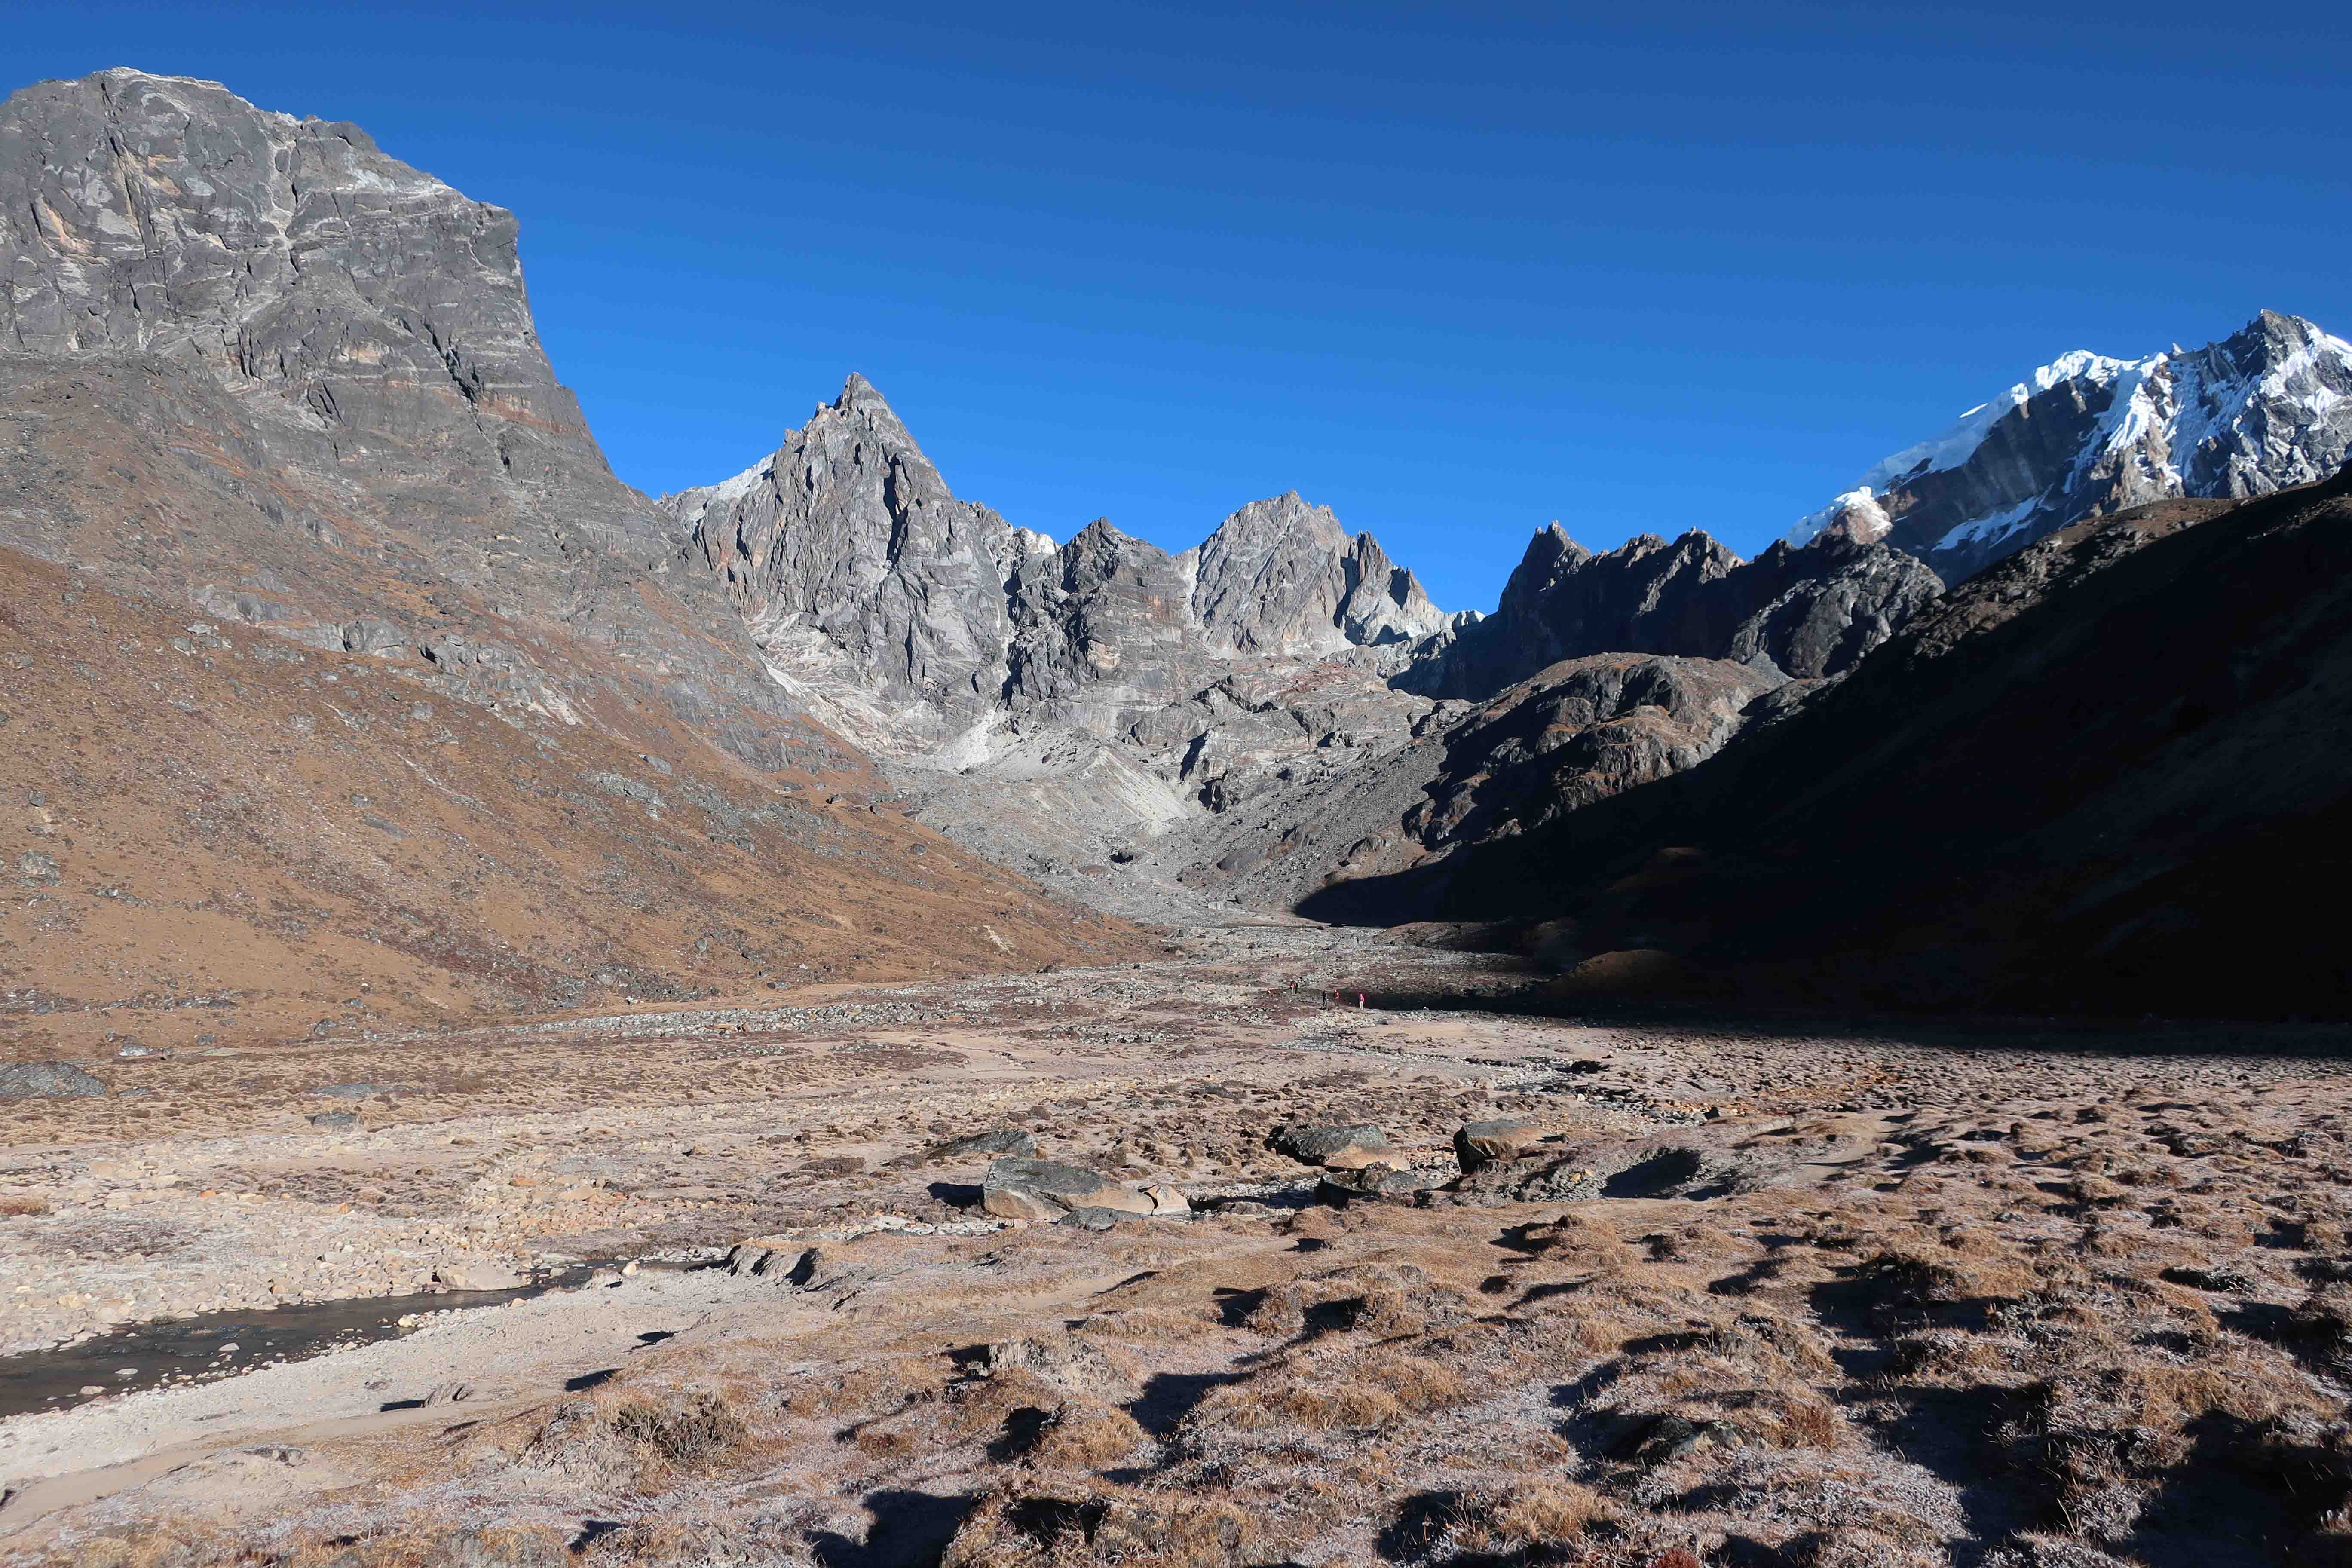
The First Part of the Cho La Pass
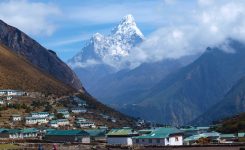
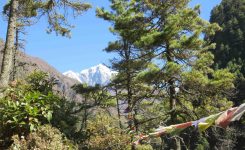
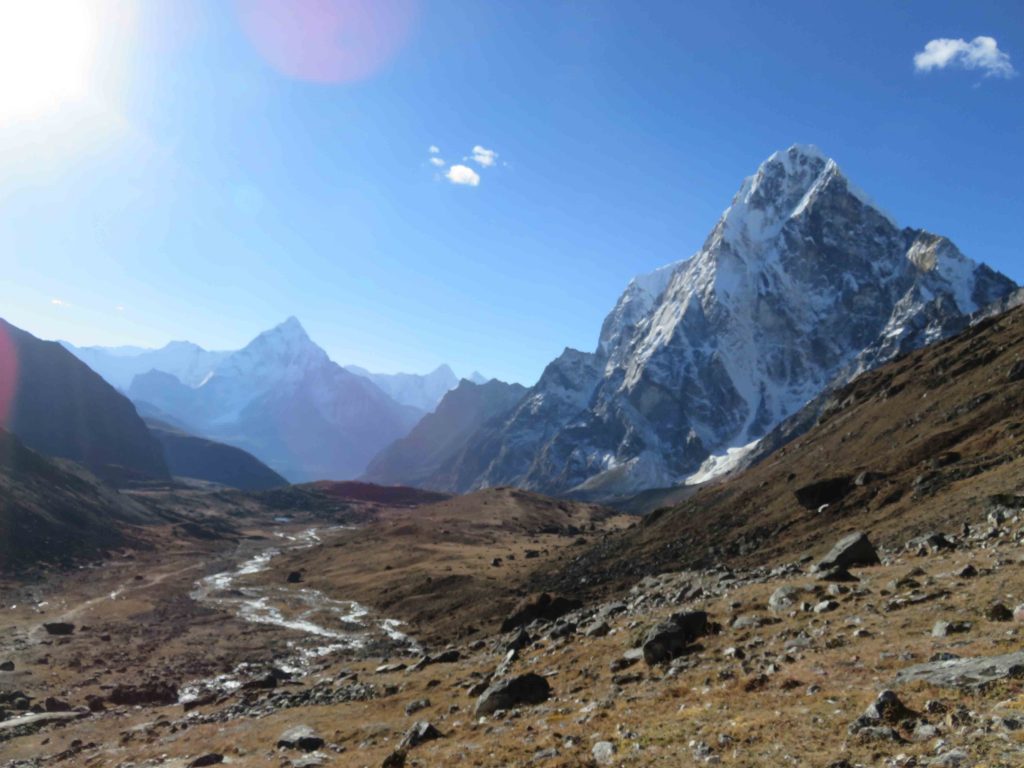
Cho La Pass starts flat, then gains elevation quickly, requiring some scrambling over boulders and maneuvering over some sketchy thin passes over steep drops. However, it certainly looks more dangerous than it is. With every bit of struggle to get higher, though, you’re rewarded with breathtaking views of the Himalayan giants embellished with the early morning sun shining over their icy tops behind you. As you continue your trek, you quickly approach the moment of the first ascent.
This is the first ascent that takes you to a flatter resting spot where most hikers will take a break (which we did too) before the next steep climb, which then brings you to the part you need those crampons for the glacier walk.
Travel Tip: In October, this is the only part of the Everest Base Camp and the Three Passes Trek where we needed to use our crampons (bought from MEC). It was nice to easily walk up a glacier while others were sliding down and struggling to get to the top; however, it also added a significant amount of weight to our backpacks, so it’s a choice you have to make. Crampons are not required but would make this part of your trek more enjoyable. 🙂 The choice is yours.
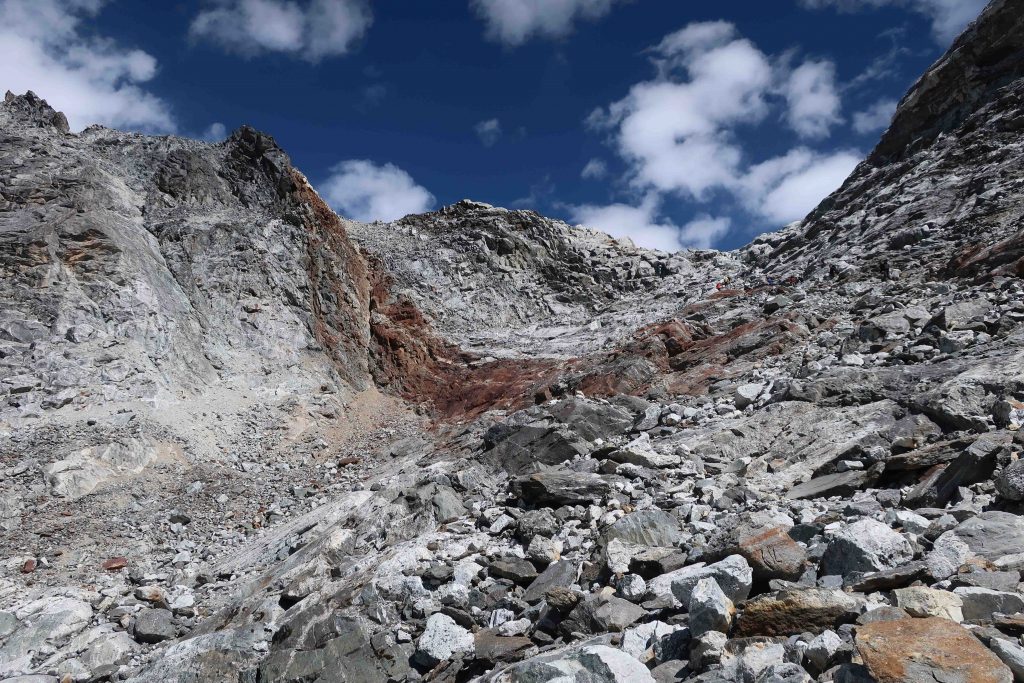
Glacier Crossing and the Final Ascent to cross the Cho La Pass
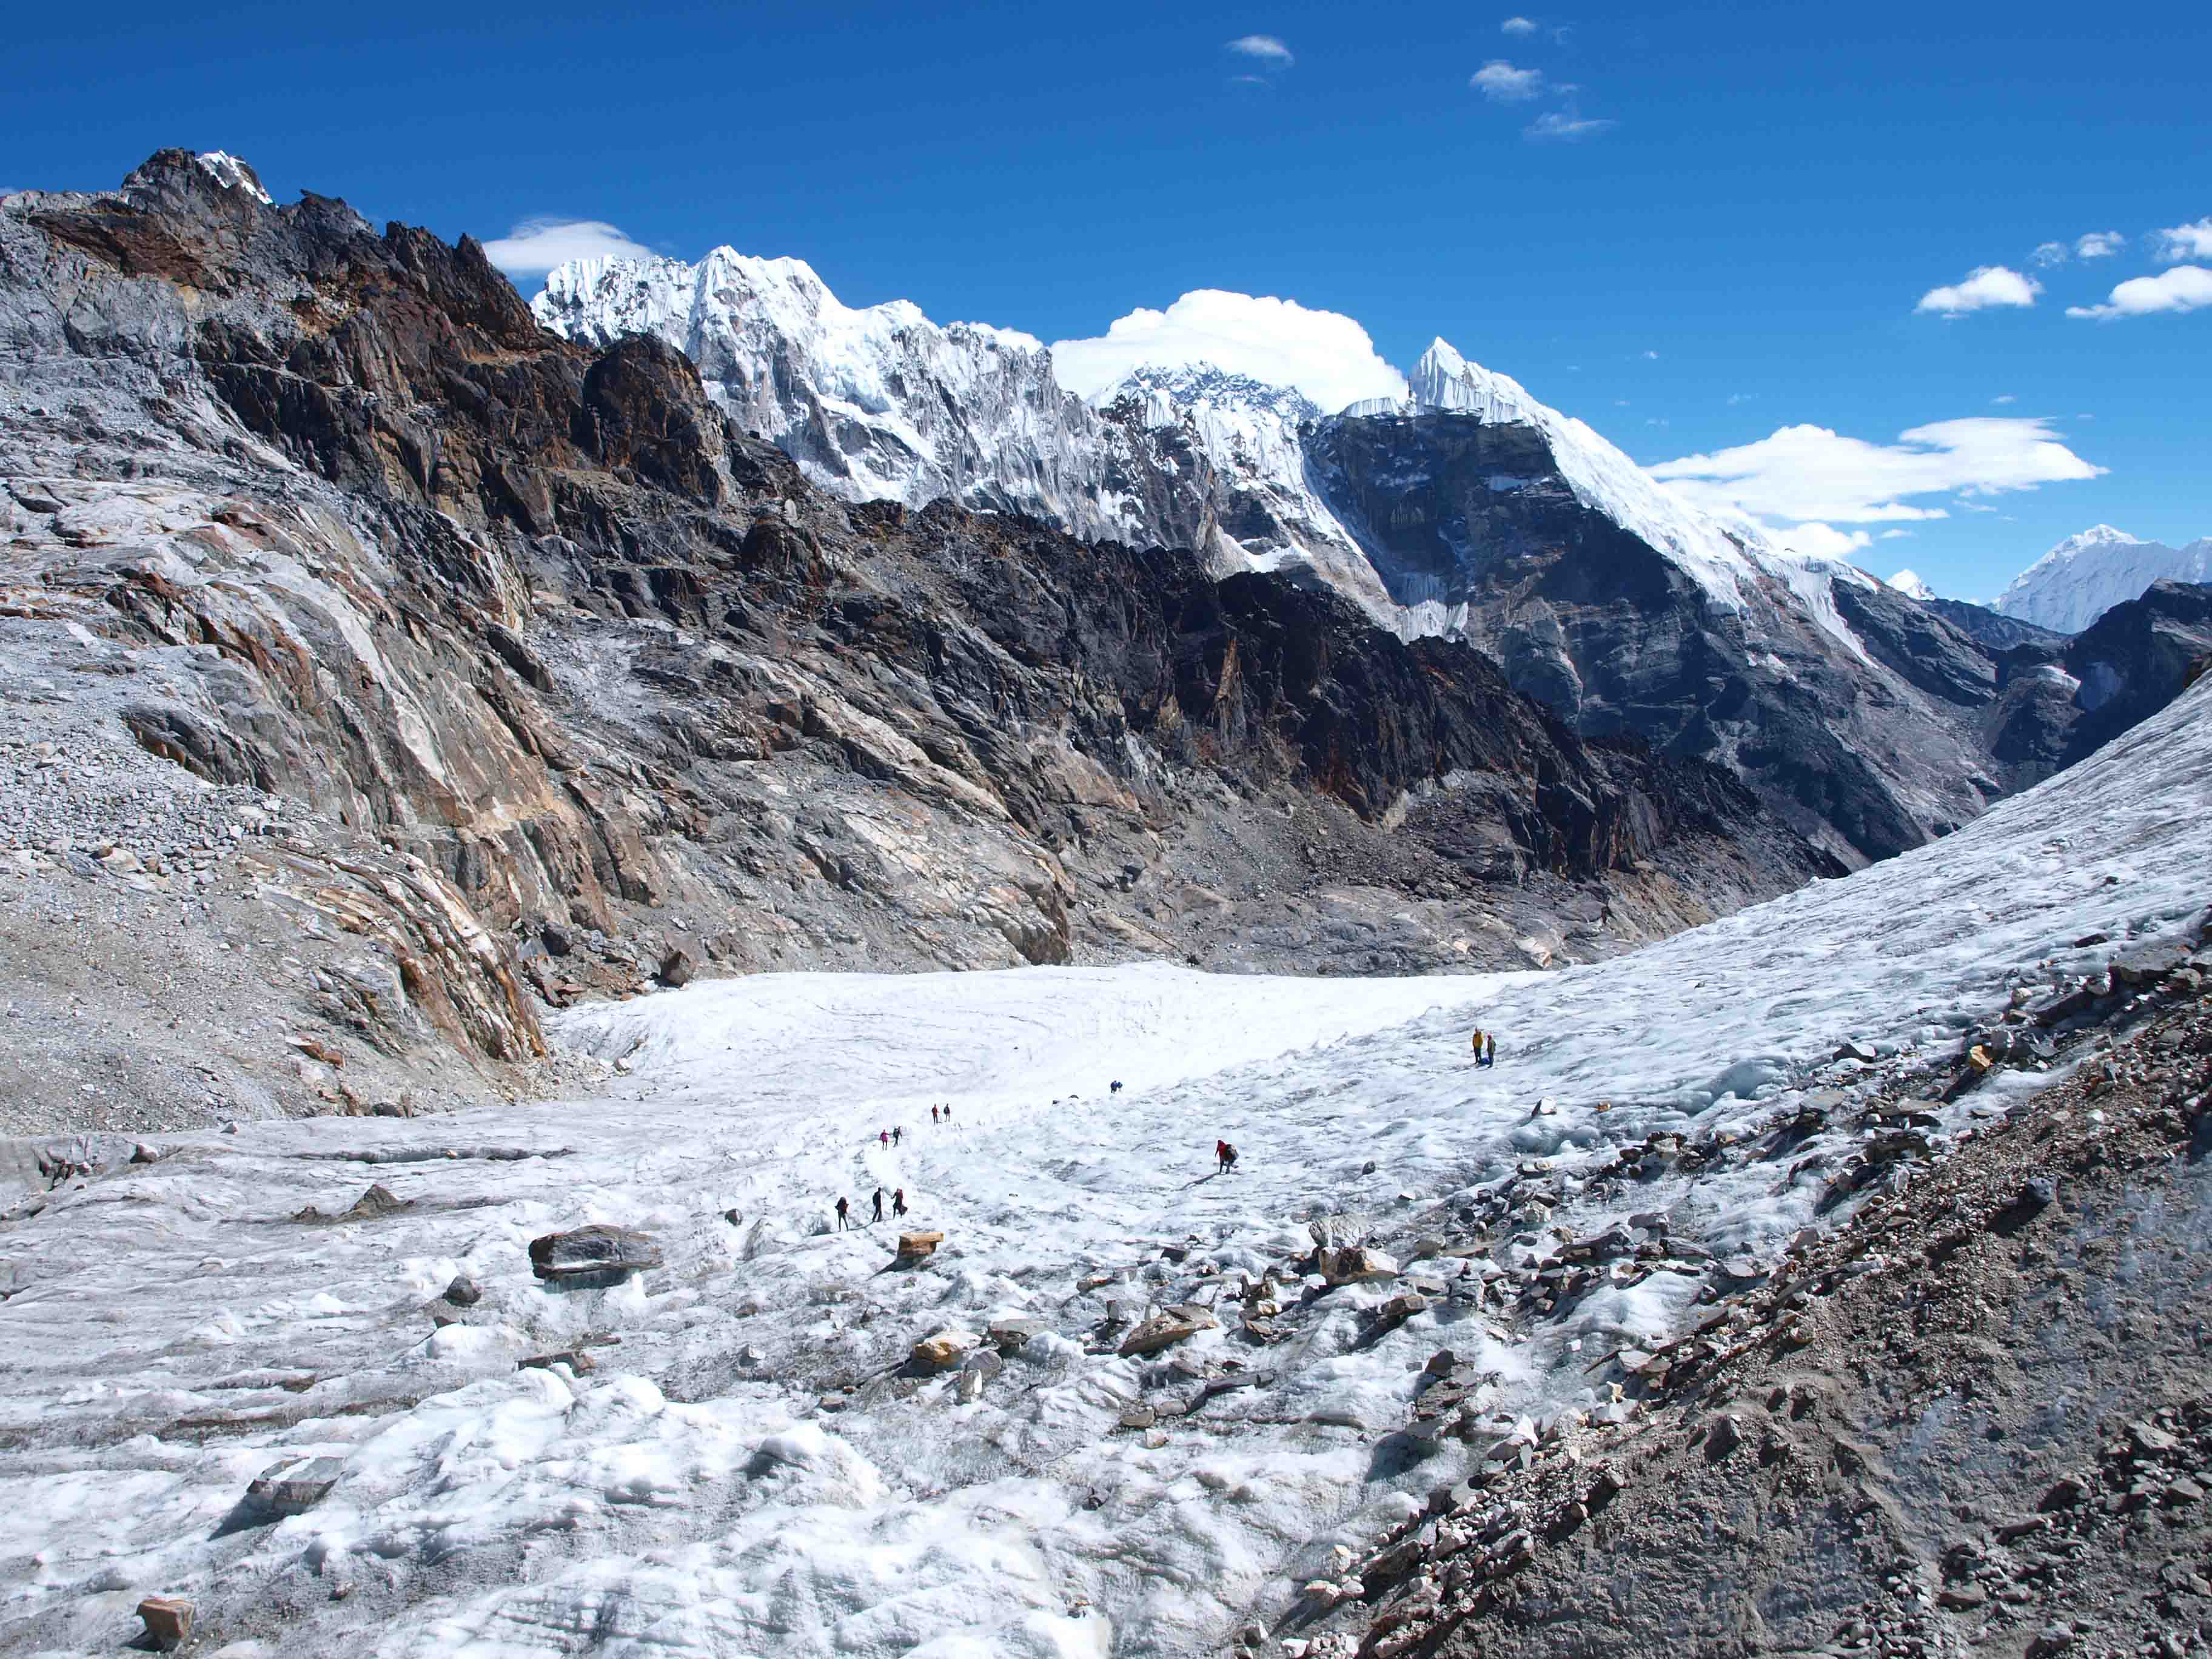
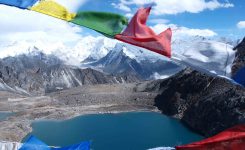
The glacier walk is the last part before you begin the final ascent to cross the Cho La Pass, which is the highest point of the hike sitting at 5,420 meters. The glacier walk itself is pretty straightforward (if you have your crampons on); you walk up to the start to the final ascent.
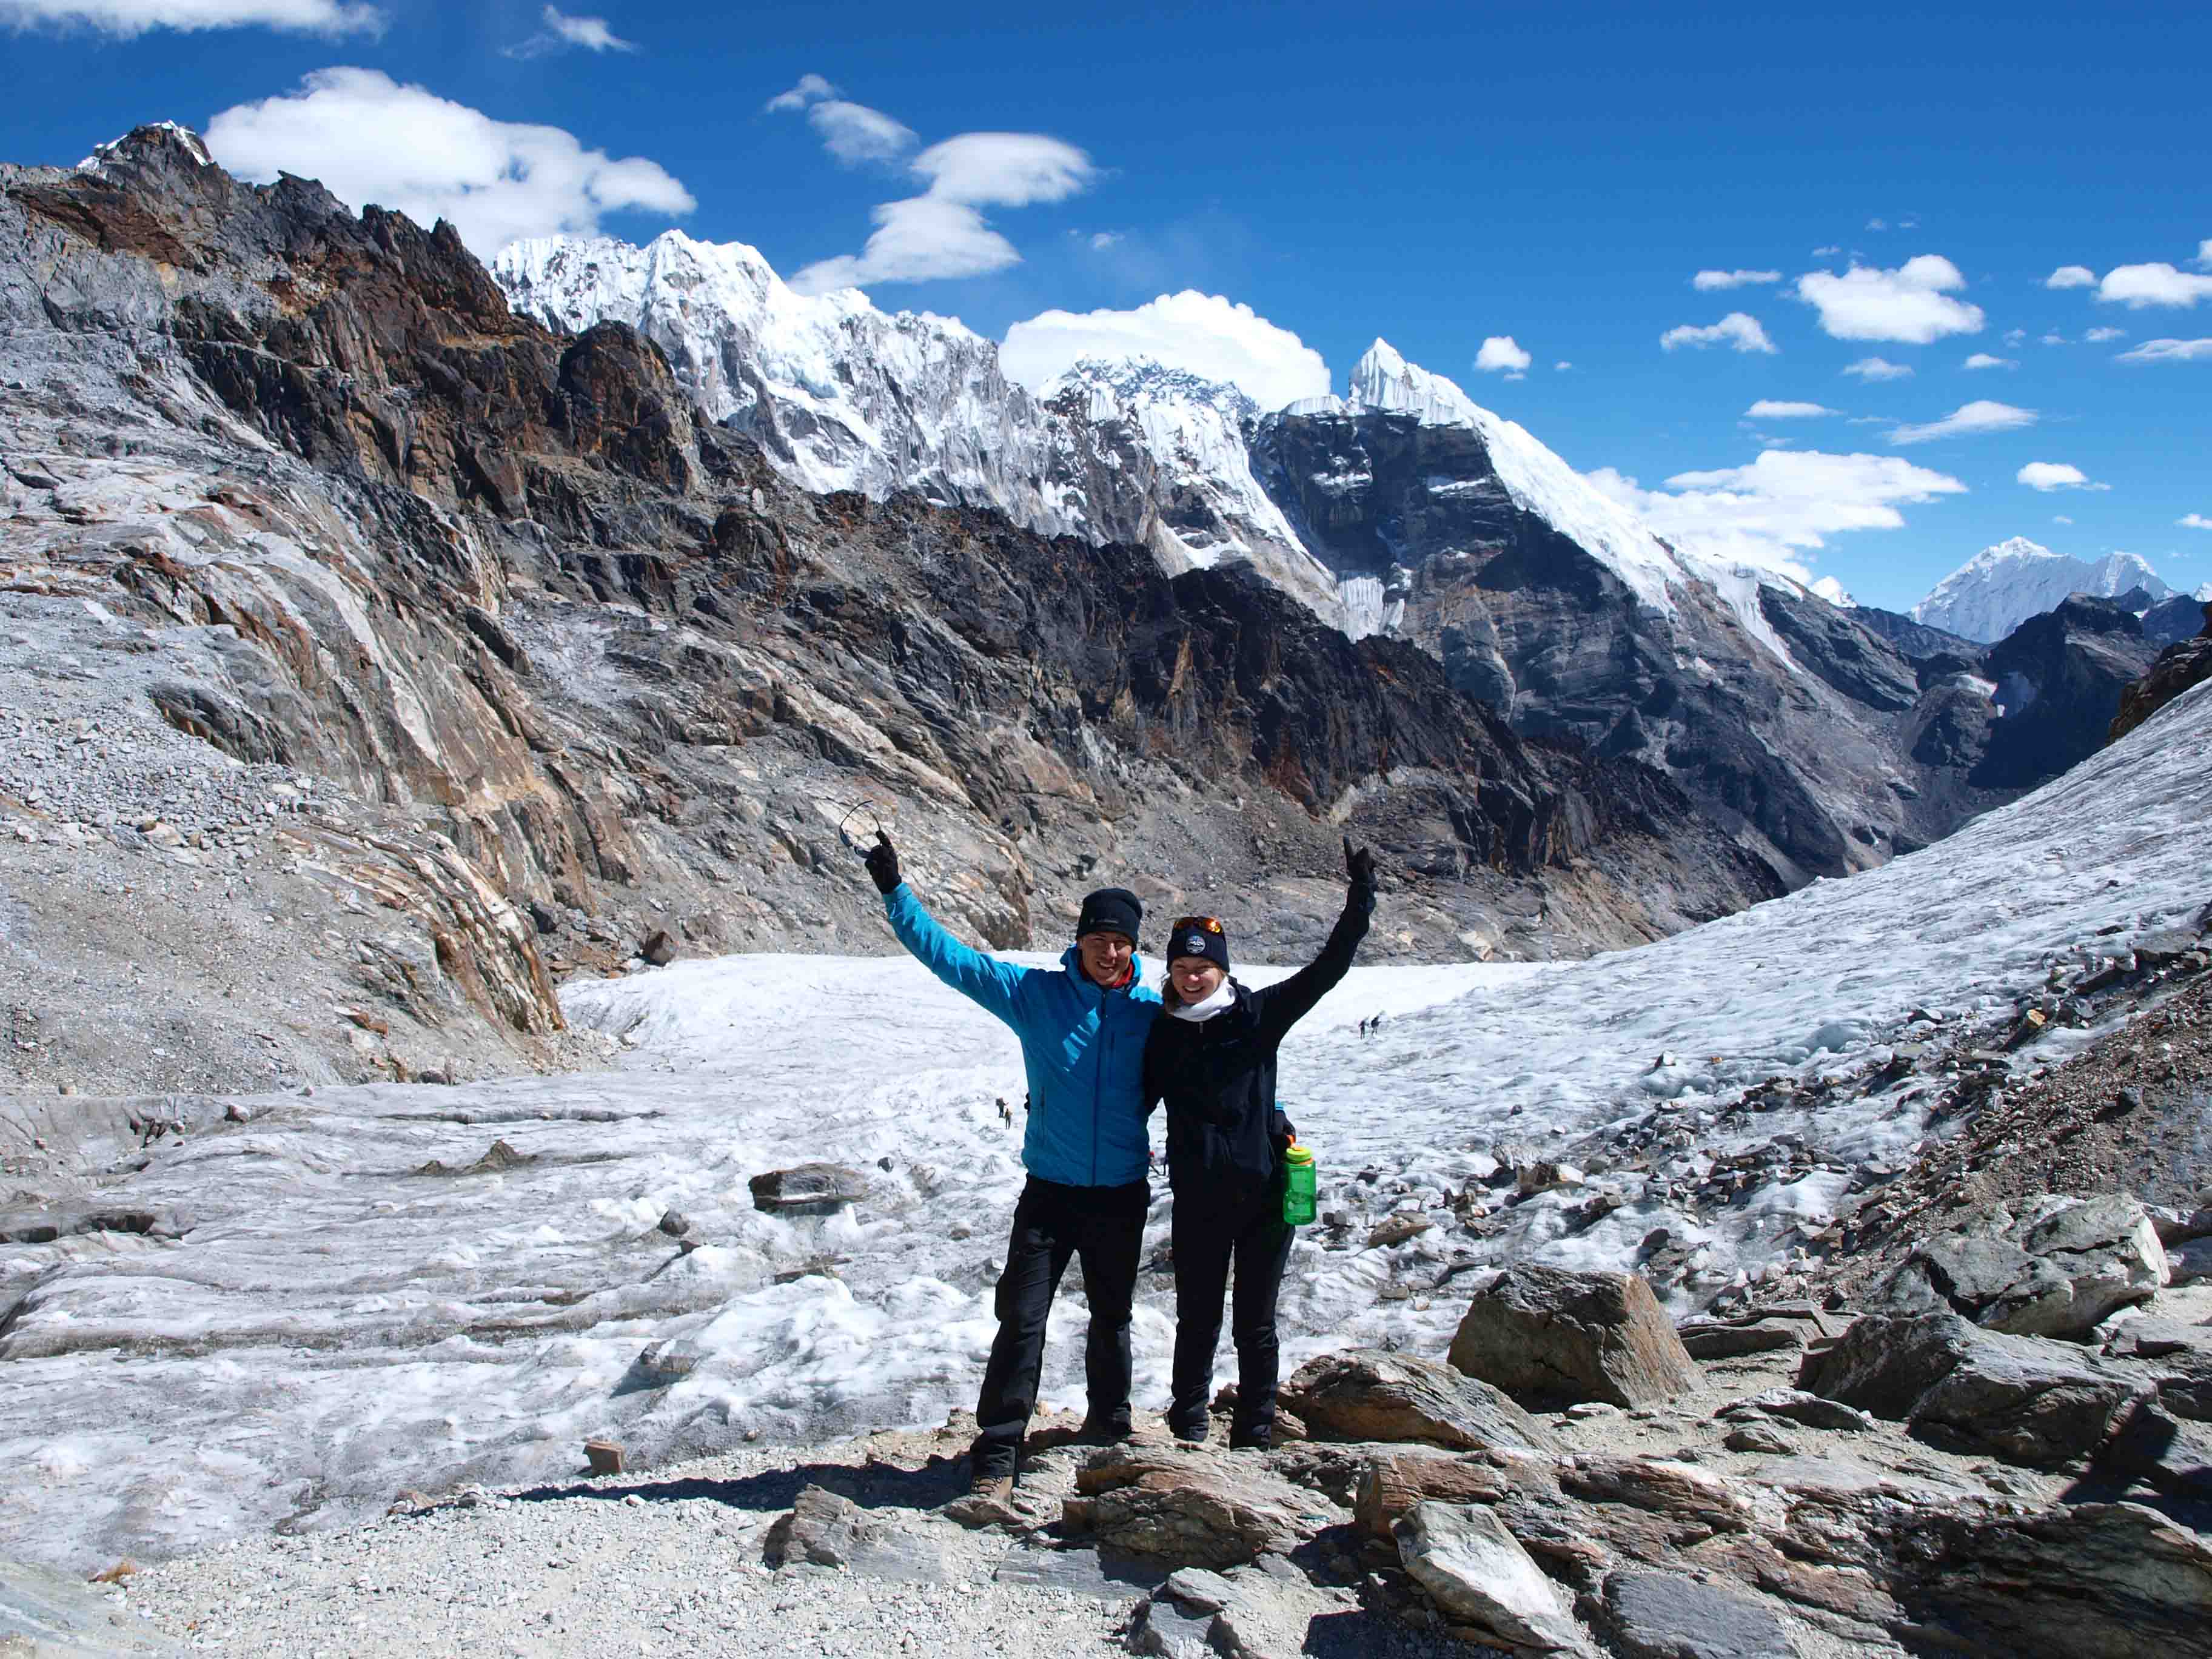
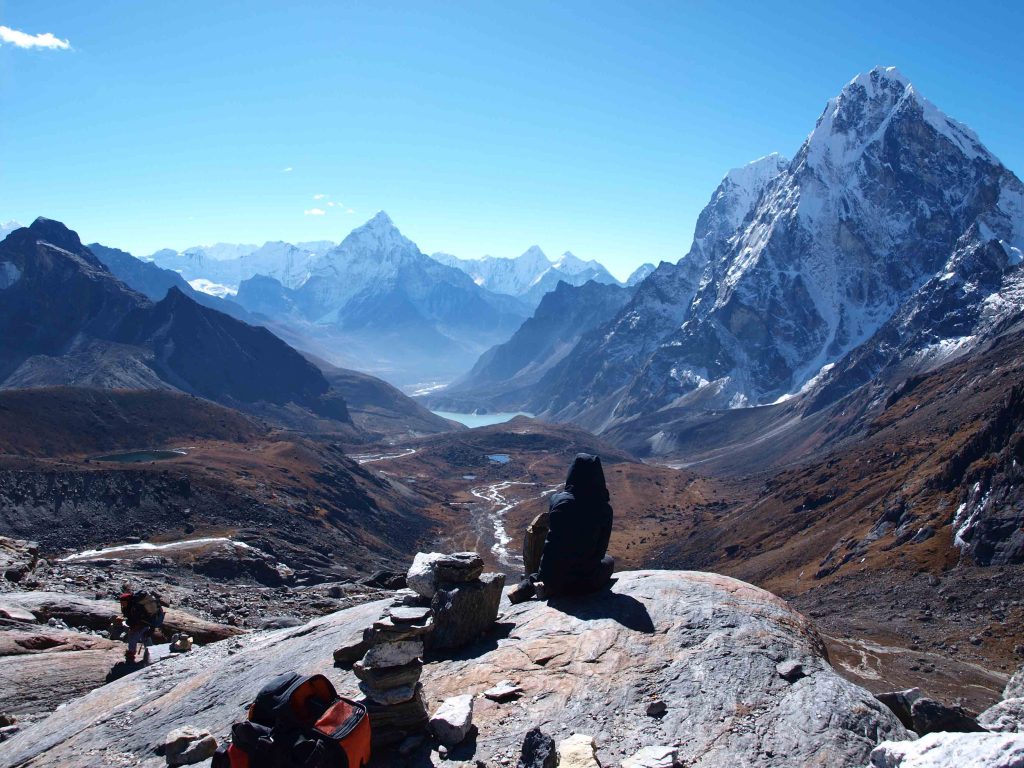
Once you’ve crossed the glacier part, you have to do a short but steep ascent. One challenging part is with a vertical drop where you have to walk around a boulder on a think ledge. This part freaked out a few people as they were crossing it, but it is easier than it looks. Once that part is over, you’re at the top! The views are magnificent, and it’s also a good time for a well-deserved break before you begin the descent. This is also the part where you’ll think you’re almost done as the next part is the descent, and those are usually easy. However, the way down was a never-ending trail over loose rock, undefined paths, boulder fields, and many more ups and downs.
Travel Tip: Considering that this part is pretty high, it’s a great spot to acclimatize (although for us, it was the last and the highest point of the trek from there forward). I did feel the AMS headache creeping in after an hour of chilling at the top. So we packed up and headed down.
Finally, the Descent from the Cho La Pass
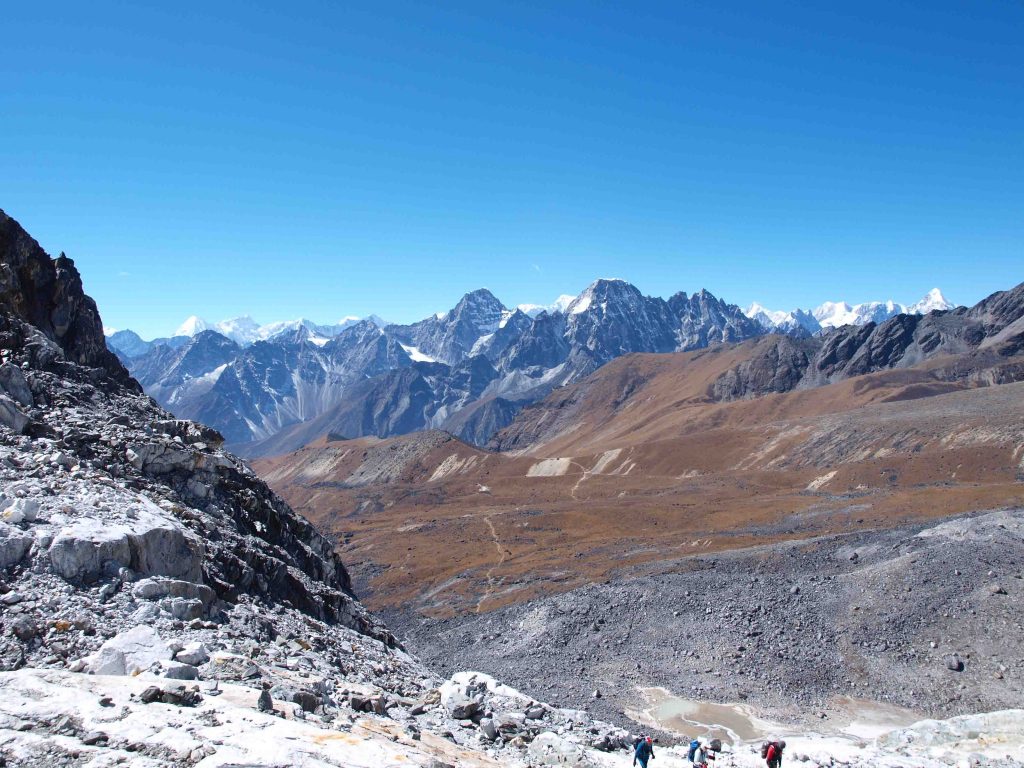
The next part of the trek is a steep descent that starts with a confusing path over a bunch of loose grey gravel rock. There is no way around those, so you have to be careful, step slowly and make your way down one step at a time. The great thing is that the drop wouldn’t be too bad as you’d slide down the gravel rock if you fall.
For the next couple of hours, we were slowly walking down and eventually reached the bottom of the pass. To our huge surprise, though, this was not even close to the end of the pass hike. We went over smaller ascents and descents for the following two or so hours (not entirely sure how many hours passed as it seemed like an endless up and down to me).
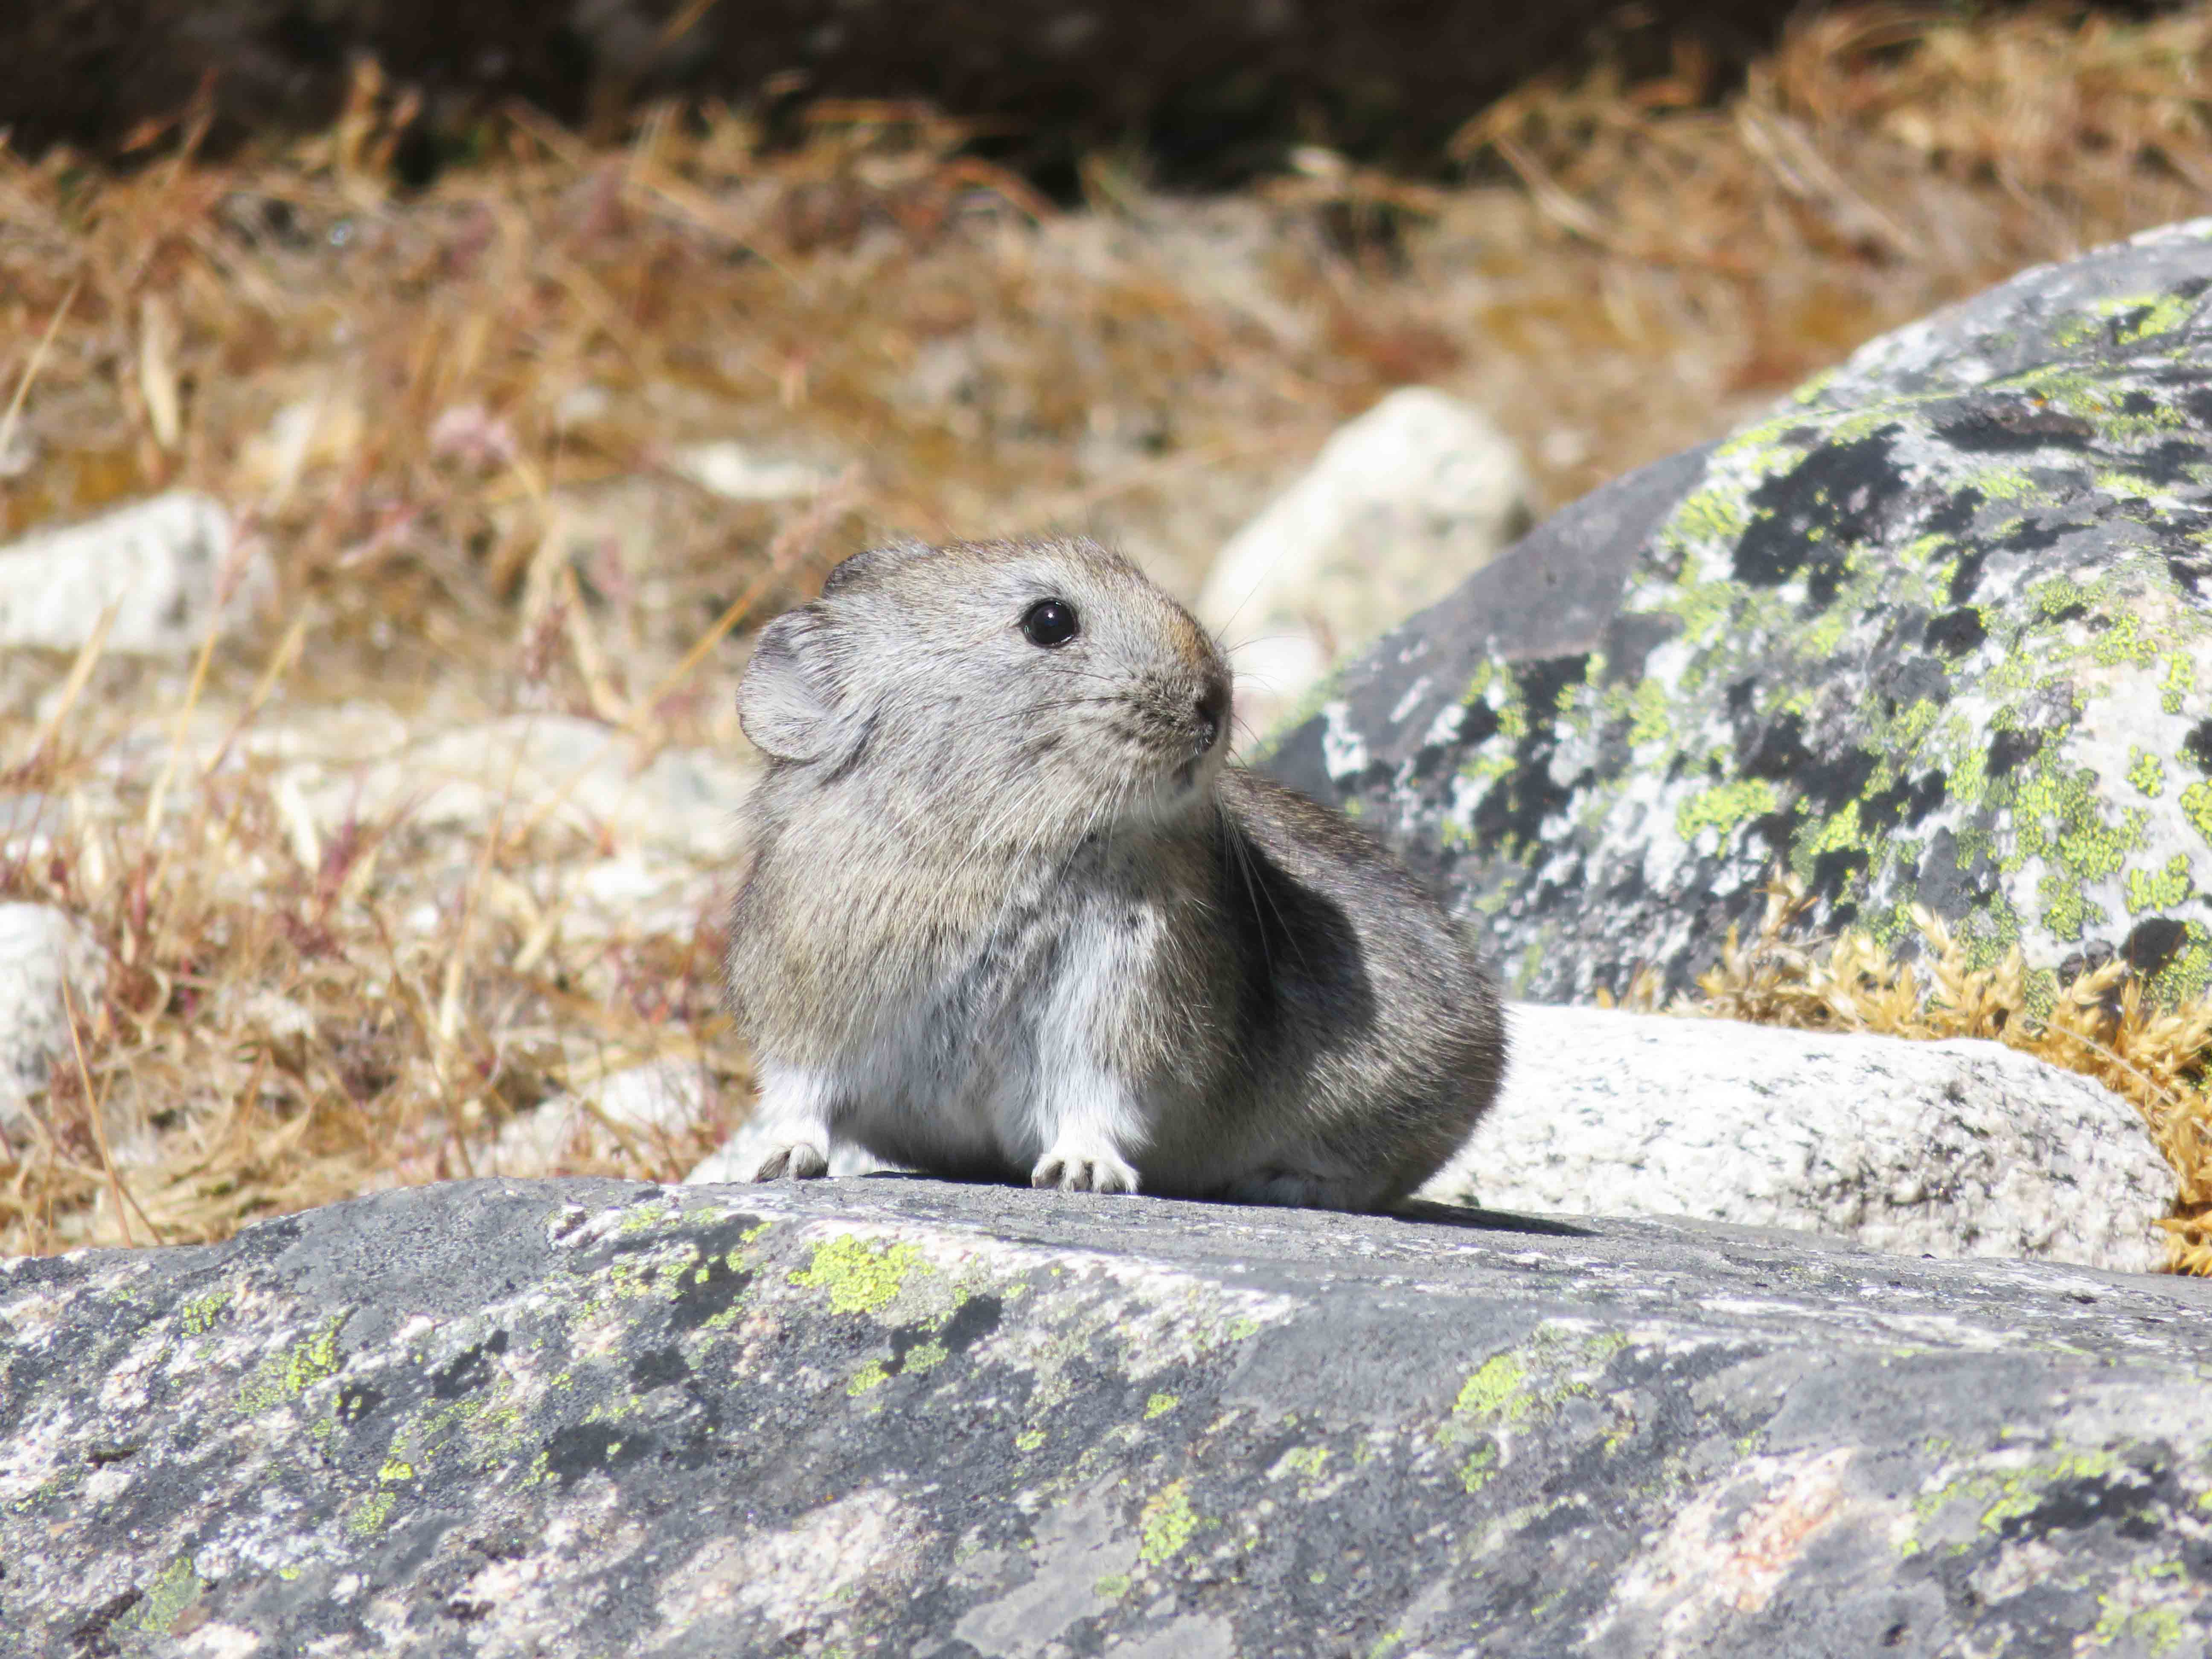
Travel Tip: On our final part of the trek for the day, we ran into a tiny and incredibly cute pika – a small mouse looking mammal that lives in the mountains. You can find these little guys in Asia and North America, but they’re hard to spot as they scare easy. We saw this one only because we were resting before another ascent on the way down to the village of Dragnag, and the little creature didn’t realize we were there. He bolted as soon as we moved, but I was lucky to take its portrait.
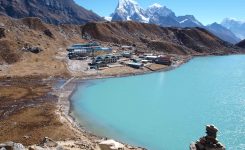
When we finally reached the village of Dragnag, we were too tired to push ourselves to complete the moraine crossing and decided to spend the night at the Tashi Friendship Lodge. It was a lovely stop as we got to rest, shower, chill at the teahouse and leave the moraine for the next morning. We were both exhausted, happy, and excited to get over the moraine and see the Gokyo village and ascend Gokyo Ri.
Read next:
Everest Base Camp Trek Series:
View All Posts
- Day 1 – Toronto to Kathmandu
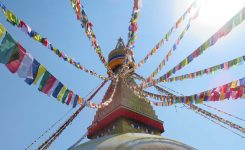
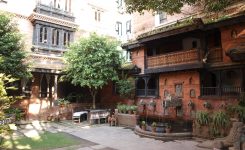
- Day 2 – Exploring Kathmandu
- Day 3 – Kathmandu to Lukla
- Day 4 – Namche Bazaar
- Day 5 – Namche Bazaar to Tengboche
- Day 6 – Tengboche to Pangboche
- Day 7 – Pangboche to Dingboche
- Day 8 & 9 – Dingboche to Chuchung
- Day 10 – Chuchung to Lobuche (over the Kongma La Pass)
- Day 11 – Lobuche (and the Italian Pyramid)
- Day 12 – Gorakshep to Everest Base Camp
- Day 13 – To Kala Patthar and Dzongla
- Day 14 – To Dragnak (over Chola Pass)
- Day 15 – Gokyo (with Gokyo Ri ascent)
- Day 16 – Back to Namche Bazaar
- Day 17 – Namche Bazaar to Lukla
- Day 18 – Lukla to Kathmandu
- Day 19 – Kathmandu to Toronto